Mastering Guide
Prep your mix for mastering
Three simple steps to get your mix ready so your master comes back sounding its absolute best.
Leave some headroom
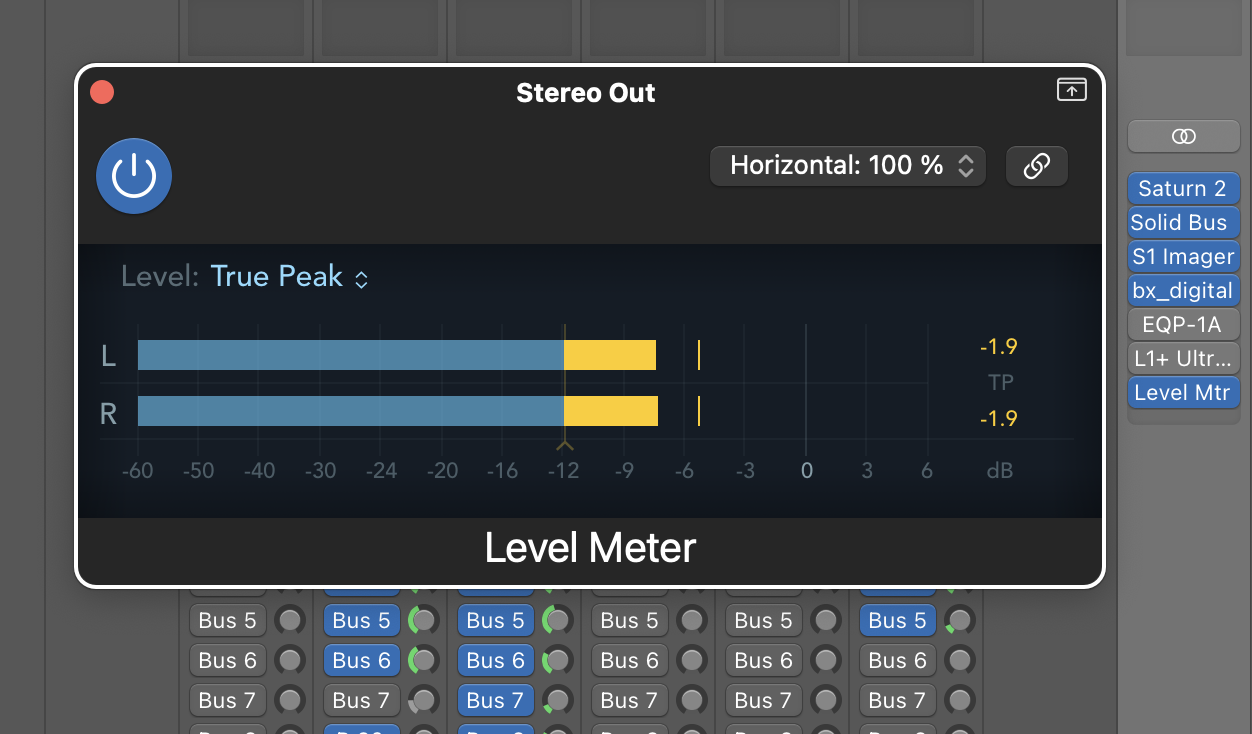
Make sure your mix doesn't peak above 0 dBFS — the clipping point for a digital signal. Unlike the warm fuzz of analog distortion, digital clipping is just brutal, so leave a fair bit of headroom when you bounce.
Instead of simply turning down the master fader, disable your loudness plugins before export. Any maximizer, limiter, or compressor that's only there to make it loud should be bypassed — once you've already pushed the limits, there's no room left to master without degrading side effects. It'll be plenty loud after mastering, trust us.
Use True Peak metering as the last plugin in your chain and keep the signal under 0.
Keep it in the family
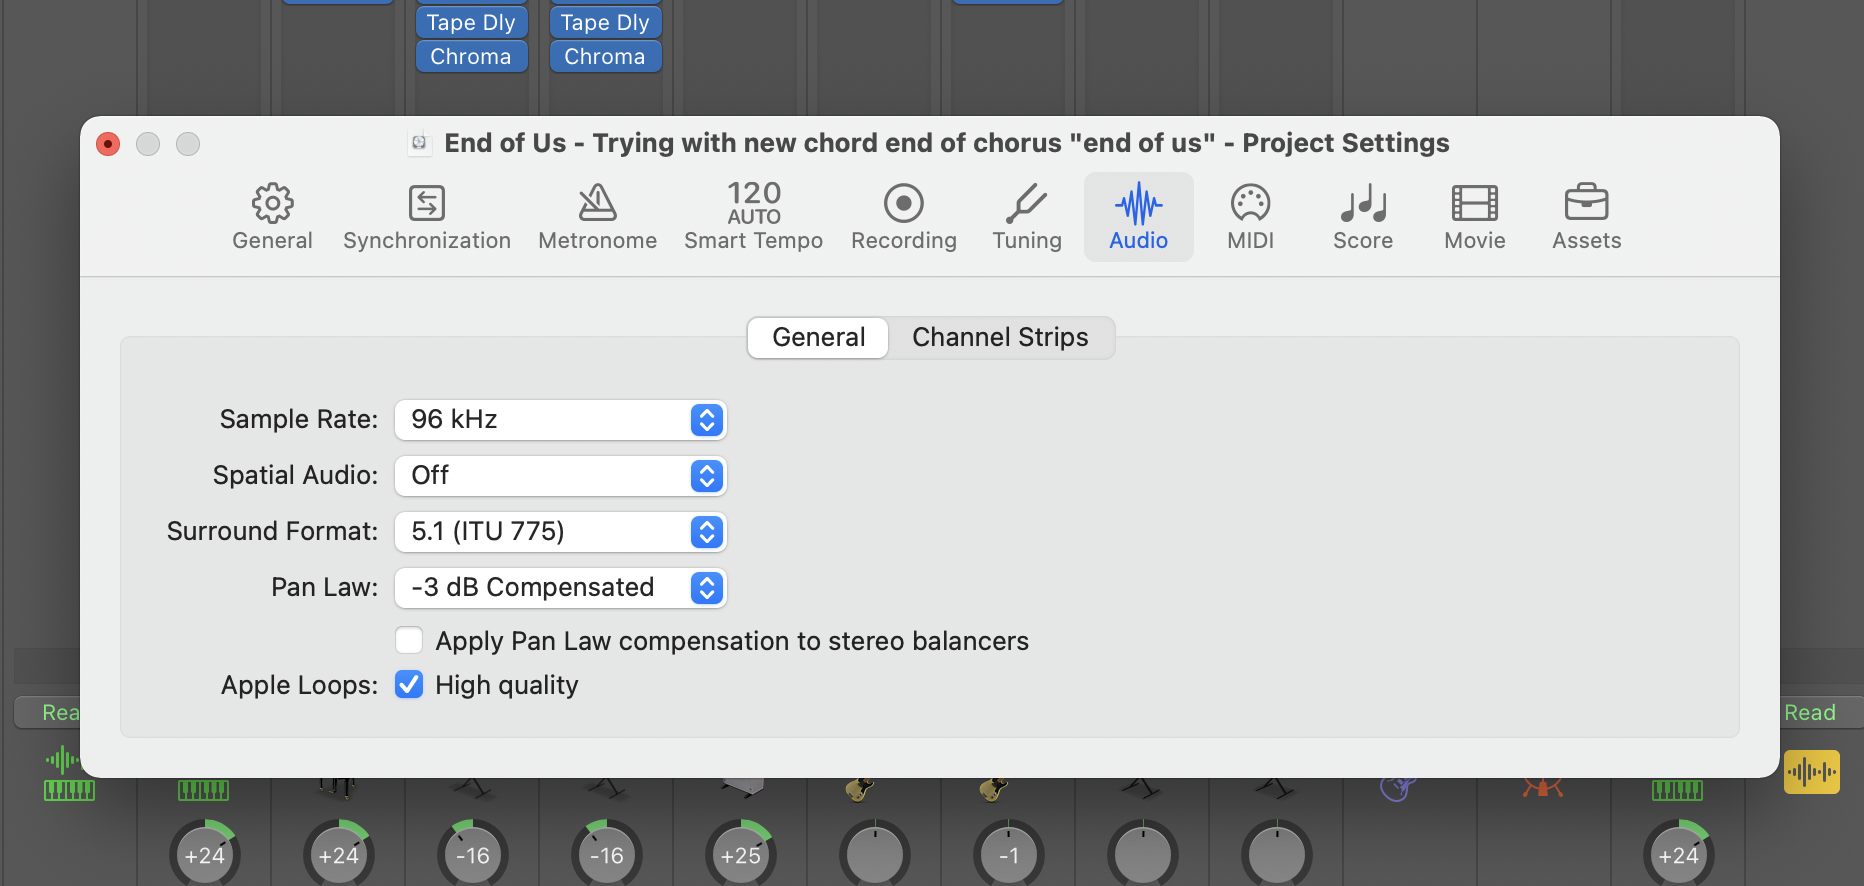
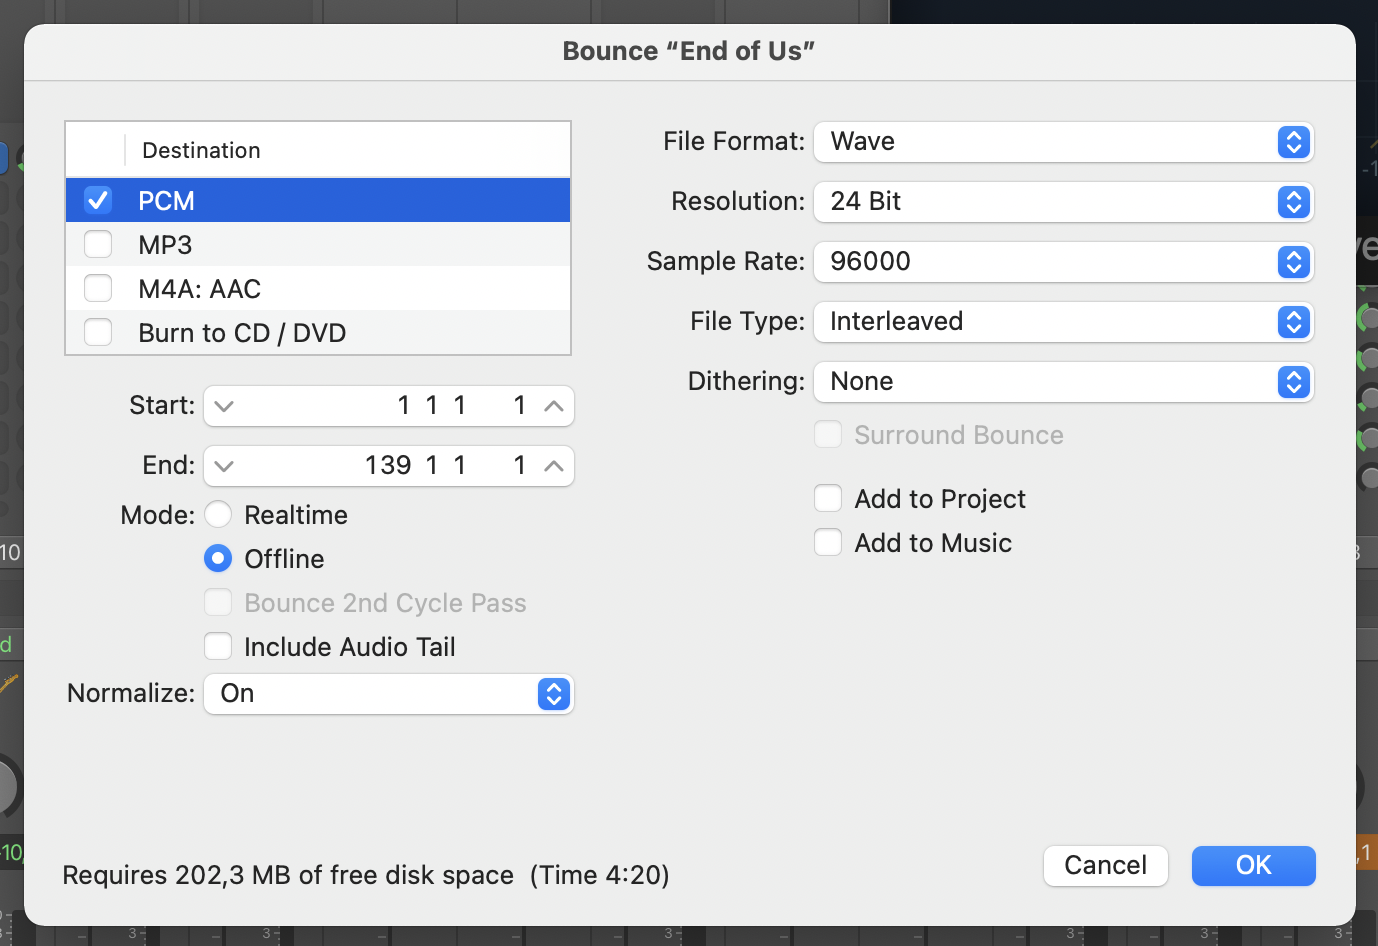
Bounce at the same sample rate as your project to avoid quality-robbing conversions. Sample rates come in two families — 44.1 kHz (and 88.2, 176.4, 352.8) and 48 kHz (and 96, 192, 384) — so match your export to your session settings.
Work in 16-bit or higher. More bits means a lower noise floor and less noise introduced along the way.
Use your ears
Listen. Did you unmute the tambourine and the backing vocals? Did you place everything with panning and depth — reverb, pre-delay, the works — so each part sits in its right place?
Take the time to listen in different environments: in the car, on earbuds, on small bluetooth speakers, and on a good hi-fi. Each one reveals something new about your mix.
When you're happy, make the call and bounce it — then upload to Eclipse AI Mastering and get your master back in an instant. Want to tweak something after? Head back to your DAW, make the change, and re-upload free of charge.